

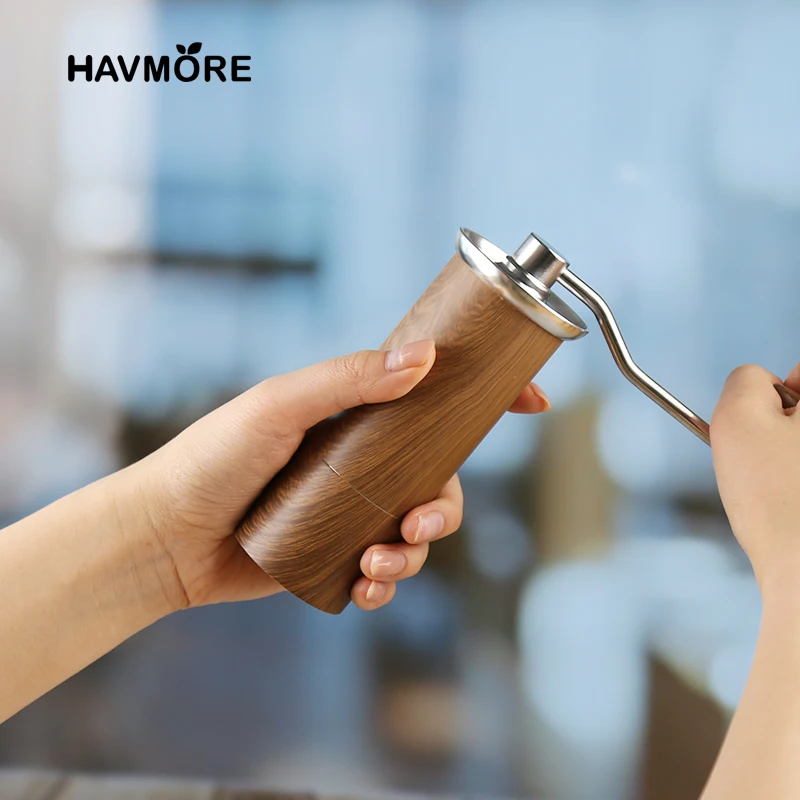
Understanding Why Manual Grinder Cleaning Matters
Coffee lovers know that a great cup starts with freshly ground beans, but many overlook how crucial a clean grinder is to that perfect brew. Manual coffee grinders require regular cleaning because coffee beans leave behind two troublesome residues: oils and fine particles. These residues don’t just disappear—they build up over time and can significantly impact your coffee experience.
When coffee oils sit in your grinder for more than 72 hours, they begin to oxidize and turn rancid. This introduces unpleasant, stale flavors into your fresh grounds. Meanwhile, accumulated coffee dust creates a barrier between burr surfaces, preventing them from achieving the precise grinding consistency that mastering espresso precision grind settings requires.
Regular cleaning offers several key benefits:
– Preserves the true flavor profile of your beans
– Ensures consistent grind size for predictable extraction
– Prevents mechanical issues and extends grinder lifespan
– Eliminates cross-contamination between different coffee varieties
Simply put, a clean grinder means better-tasting coffee. The question isn’t whether coffee grinders need maintenance—they absolutely do—but rather which parts need the most attention and how often.
The Seven Critical Components Requiring Regular Attention
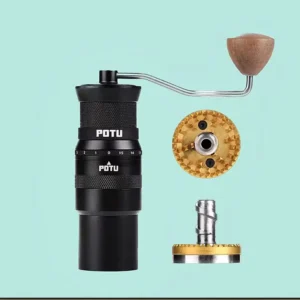
1. The Burrs: Heart of Your Grinder
The burrs are undoubtedly the most important component of your manual grinder. These precision-engineered cutting surfaces directly contact your coffee beans and determine the consistency of your grind. Their many tiny grooves and teeth create the perfect particle size for your brewing method—but these same intricate surfaces also trap coffee particles and oils.
Steel and ceramic burrs have slightly different cleaning needs. Steel burrs are more susceptible to oxidation and corrosion if left damp, while ceramic burrs can be more brittle but typically resist staining better. Both types benefit from regular manual burr grinder maintenance to ensure optimal performance.
To properly clean your burrs:
- Start by removing them according to your grinder’s disassembly instructions
- Use a soft bristle brush to remove loose coffee grounds from all surfaces
- For stubborn buildup in grooves, use a toothpick or small brush to gently dislodge particles
- For steel burrs, ensure they’re completely dry before reassembly to prevent rust
- Pay special attention to burr alignment during reassembly—even slight misalignment affects grind quality
For daily grinder users, a thorough burr cleaning once weekly prevents flavor deterioration and maintains the consistency that high-quality manual coffee burr grinders are designed to deliver.
2. The Grounds Collection Chamber
The grounds collection chamber seems simple but plays a crucial role in your coffee’s flavor. This component collects your freshly ground coffee, but when not properly cleaned, even small amounts of old grounds can contaminate your next batch with stale flavors.
Cleaning methods vary based on the chamber’s material:
– Glass chambers can be washed with mild soap and water, then thoroughly dried
– Plastic chambers should be cleaned with warm water (not hot) to prevent warping
– Metal chambers, especially in stainless steel manual coffee grinders, can handle more thorough cleaning but should be dried immediately
For optimal results, clean the collection chamber after each use by:
1. Emptying all grounds completely
2. Wiping the interior with a clean, dry cloth
3. For deeper cleaning, rinsing with water and drying thoroughly
4. Paying special attention to any threads or sealing surfaces
Remember that moisture in the collection chamber can lead to mold growth, so proper drying is essential—especially in areas where the chamber connects to the rest of the grinder.
3. The Bean Hopper and Feed System
The bean hopper is where your coffee journey begins, making it a critical component to keep clean. As whole beans sit in the hopper, they leave behind natural oils that cling to the walls. Over time, these oils can become rancid and negatively affect manual grinder heat impact flavor during grinding.
To properly clean your hopper:
- Remove all beans and invert the grinder to shake out loose particles
- Wipe the interior walls with a dry microfiber cloth to remove surface oils
- For deeper cleaning, use a slightly damp cloth with minimal moisture
- Pay special attention to the bean feed mechanism where the hopper narrows
- Use a small brush to clear any trapped coffee dust from corners and crevices
For most users, cleaning the hopper weekly prevents oil buildup while maintaining convenience. If you frequently switch between different coffee varieties or roast levels, consider cleaning more often to prevent flavor crossover that can muddy the distinct characteristics of your beans.
4. The Central Shaft and Bearings
The central shaft and bearings form the mechanical backbone of your manual grinder. This assembly translates your hand motion into the rotation needed to grind coffee beans. When coffee particles infiltrate these components, they create resistance, uneven grinding, and potential long-term damage.
This sensitive area requires careful cleaning:
- Disassemble according to manufacturer instructions to access the shaft
- Use a dry, clean brush to remove visible coffee particles
- Wipe the shaft with a lint-free cloth to remove any residue
- Inspect bearings for smooth movement without grittiness
- Never submerge these components in water or use excessive moisture
For bearings specifically, avoid using household oils or cooking sprays as lubricants. If your precision manual grinder requires lubrication after cleaning, use only food-safe lubricants recommended by the manufacturer.
Signs that your shaft and bearings need cleaning include increased grinding resistance, uneven rotation, or unusual sounds during use. Address these symptoms promptly to prevent permanent damage to your grinder’s precision components.
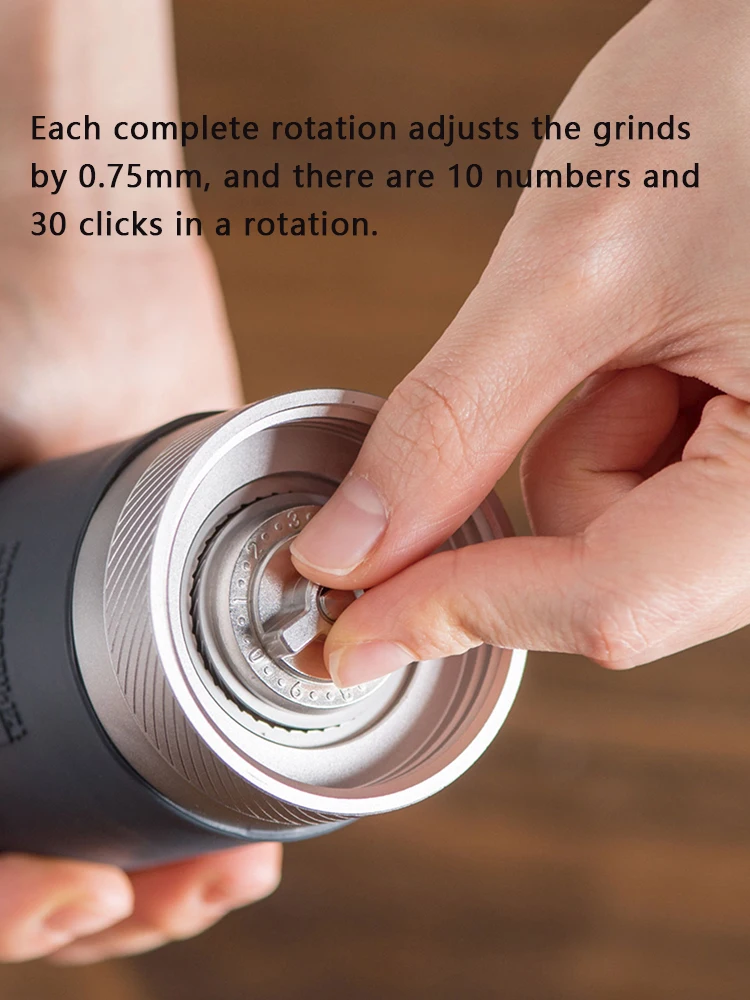
5. The Adjustment Mechanism
The adjustment mechanism controls your grind size—from fine espresso to coarse French press—and directly impacts brewing results. This system typically involves threaded components, adjustment rings, or click settings that can become clogged with fine coffee particles, affecting accuracy.
To properly clean the adjustment mechanism:
- Set the grinder to its coarsest setting to create maximum clearance between parts
- Use a small brush to remove visible coffee dust from threads and adjustment surfaces
- For threaded components, gently clean between threads using a toothpick or brush
- Avoid using water on adjustment mechanisms unless specified by the manufacturer
- After cleaning, cycle through all settings to distribute any remaining particles
Even microscopic coffee particles can cause significant deviation in your espresso grind settings perfect shot consistency. For espresso enthusiasts, cleaning this component is particularly critical as even minor setting inconsistencies dramatically affect extraction.
When reassembling, ensure all components align properly according to manufacturer guidelines. Most high-quality grinders have alignment markers that must be matched for proper function.
6. Exterior Body and Handle
While the exterior body and handle might seem like purely aesthetic components, they affect both hygiene and mechanical function. These surfaces come in contact with your hands during grinding, collecting oils and dirt that can eventually transfer to your beans.
Different materials require specific cleaning approaches:
For metal bodies found in all-metal hand grinders:
– Wipe with a soft, dry cloth to remove fingerprints and coffee dust
– For deeper cleaning, use a very lightly dampened cloth
– Dry immediately to prevent water spots or corrosion
For wooden components:
– Clean with a dry cloth only
– Periodically condition with food-safe wood oil if recommended by manufacturer
– Never submerge in water or use harsh cleaners
For plastic or composite components:
– Clean with mild soap and water if necessary
– Dry thoroughly before reassembly
– Avoid abrasive cleaners that might scratch surfaces
Regular exterior cleaning not only maintains appearance but also prevents the transfer of oils and contaminants to internal components, extending the life of your grinder.
7. The Catch Lid and Seal Components
The catch lid and various seals throughout your grinder serve a crucial function: they keep coffee grounds contained during the grinding process. These components often include rubber or silicone parts that can trap coffee oils and particles, affecting their ability to create proper seals.
To clean these often-overlooked components:
- Remove the catch lid and separate any removable seal components
- Wipe with a dry cloth to remove loose grounds and surface oils
- For rubber or silicone parts, clean with mild soap and water if manufacturer-approved
- Inspect for wear, cracking, or deformation that might affect sealing
- Ensure components are completely dry before reassembly
Proper maintenance of seals in your hand burr grinder prevents ground coffee from escaping during use and keeps moisture out during storage. Pay special attention to how these components fit together during reassembly, as improper installation can lead to leakage or inconsistent grinding.
Essential Cleaning Tools and Supplies
Proper cleaning requires the right tools. Here’s what you’ll need:
- Small, soft bristle brushes: Perfect for burrs and threading (an old toothbrush works well)
- Stiff bristle brushes: For stubborn residue (specialty manual grinder cleaning brushes are ideal)
- Microfiber cloths: Non-abrasive for wiping surfaces without scratching
- Compressed air or small blower: For clearing particles from hard-to-reach areas
- Cotton swabs: For precision cleaning of corners and crevices
- Toothpicks or wooden skewers: For dislodging stubborn particles
- Food-safe cleaning agents: If needed (plain water is often sufficient)
Avoid these problematic cleaning supplies:
– Harsh chemical cleaners that might leave residue
– Metal tools that could scratch precision surfaces
– Paper towels that may leave lint behind
– Excessive water that could cause rust or damage bearings

All-Metal Hand Grinder, Flat Burr Hand Grinder, Manual Espresso Grinder, Precision Manual Grinder
Price range: $716.96 through $717.43 Select options This product has multiple variants. The options may be chosen on the product page
Fine Adjustment Hand Grinder, Precision Manual Grinder, Travel Coffee Grinder
Price range: $185.11 through $494.63 Select options This product has multiple variants. The options may be chosen on the product page

Hand Burr Grinder, Hand Crank Coffee Grinder, Manual Espresso Grinder, Portable Coffee Grinder
Price range: $262.72 through $300.22 Select options This product has multiple variants. The options may be chosen on the product page
Manual Burr Mill, Manual Coffee Grinder Stainless Steel, Manual Coffee Mill Grinder, Mechanical Coffee Grinder
Price range: $127.26 through $130.32 Select options This product has multiple variants. The options may be chosen on the product page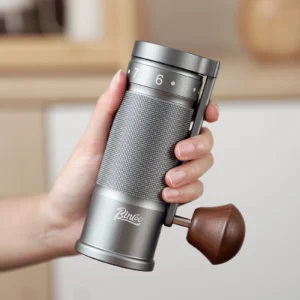
All-Metal Hand Grinder, Compact Coffee Mill, Hand Burr Grinder, Travel Coffee Grinder
$212.33 Select options This product has multiple variants. The options may be chosen on the product page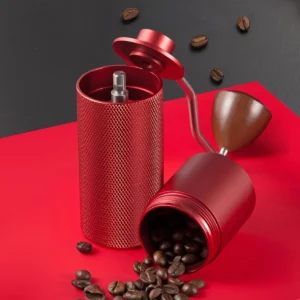
Hand Burr Grinder, Manual Coffee Grinder Stainless Steel, Precision Manual Grinder
Price range: $183.64 through $187.52 Select options This product has multiple variants. The options may be chosen on the product page
Most of these cleaning tools can be found in your home already, making grinder maintenance budget-friendly. For specialty tools, investing in quality options designed specifically for coffee equipment ensures you won’t damage your grinder’s precision parts.
Establishing an Effective Cleaning Schedule
Consistency in cleaning is key to maintaining your grinder’s performance. Here’s a practical schedule based on typical usage patterns:
| Component | After Each Use | Weekly | Monthly |
|---|---|---|---|
| Burrs | Brush visible grounds | ✓ Thorough cleaning | ✓ Deep clean with brush |
| Collection Chamber | ✓ Empty completely | ✓ Wipe thoroughly | ✓ Deep clean |
| Bean Hopper | Remove leftover beans | ✓ Wipe interior | ✓ Deep clean |
| Central Shaft | ✓ Clean and inspect | ||
| Adjustment Mechanism | ✓ Brush exterior | ✓ Full cleaning | |
| Exterior Body | Wipe visible residue | ✓ Complete wipe-down | ✓ Detail clean |
| Seals & Lid | ✓ Inspect and wipe | ✓ Remove and clean |
Espresso enthusiasts will benefit from more frequent cleaning of burrs and adjustment mechanisms, as their correct grind setting espresso requires higher precision. Similarly, users grinding oily dark roasts should clean more frequently than those using lighter roasts that contain fewer oils.
During humid seasons, pay extra attention to thorough drying after cleaning to prevent mold or rust issues.
Solving Common Issues Through Proper Cleaning
Many grinder problems can be solved with proper cleaning. Here are common issues and their cleaning-related solutions:
Q: Why is my grind size suddenly inconsistent?
A: Your burrs likely have coffee buildup creating uneven grinding surfaces. A thorough cleaning of the burrs, focusing on the cutting edges and adjustment mechanism, should resolve this issue and restore the precision needed for mastering perfect espresso adjust grind.
Q: Why does my grinder feel increasingly difficult to turn?
A: Coffee particles have probably accumulated in the bearings and shaft. Disassemble according to manufacturer instructions and carefully clean these components to restore smooth operation.
Q: Why does my coffee have a stale flavor even with fresh beans?
A: Rancid oils from previous grinds are contaminating your fresh coffee. Deep clean all components, especially the burrs and collection chamber, to eliminate old coffee residue.
Q: Why does my grinder make a scratching sound during use?
A: Foreign particles might be caught between the burrs, or the shaft alignment could be affected by coffee buildup. A careful disassembly and cleaning should identify and resolve the issue.
Regular maintenance prevents most of these problems before they affect your coffee quality. When cleaning effectively resolves performance issues, you’ll directly experience how proper maintenance contributes to better coffee.
By following this component-by-component cleaning guide, you’ll ensure your manual coffee grinder continues to deliver exceptional results cup after cup, preserving both the flavor integrity of your coffee and the longevity of your precision brewing equipment.