
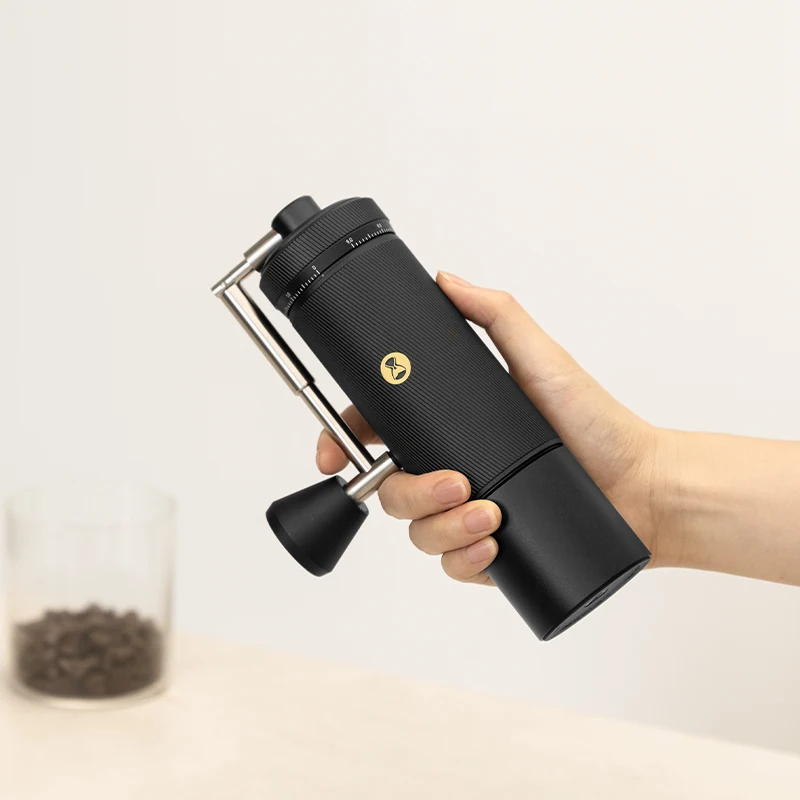
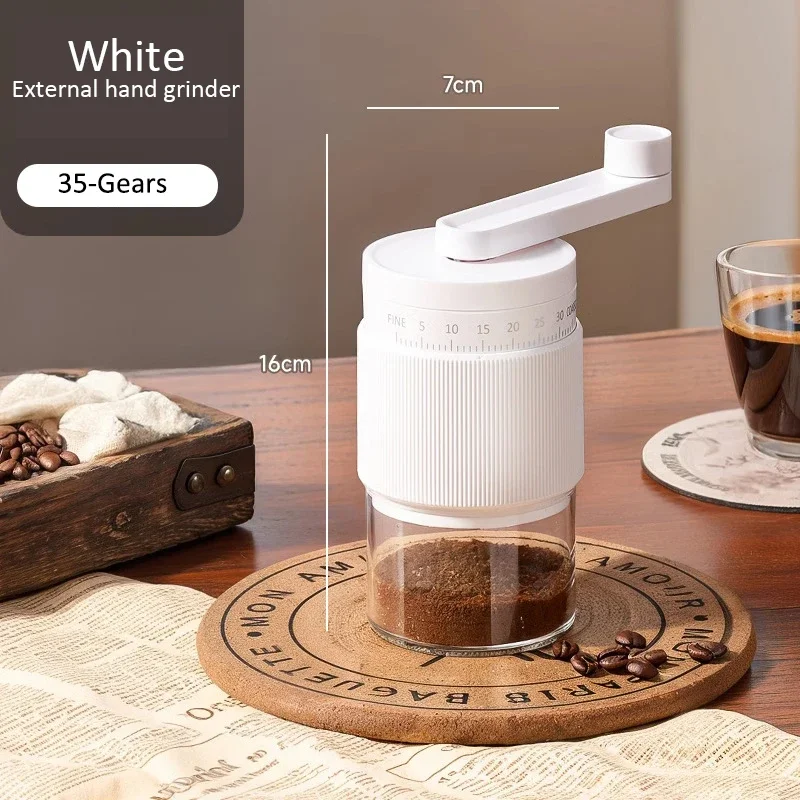
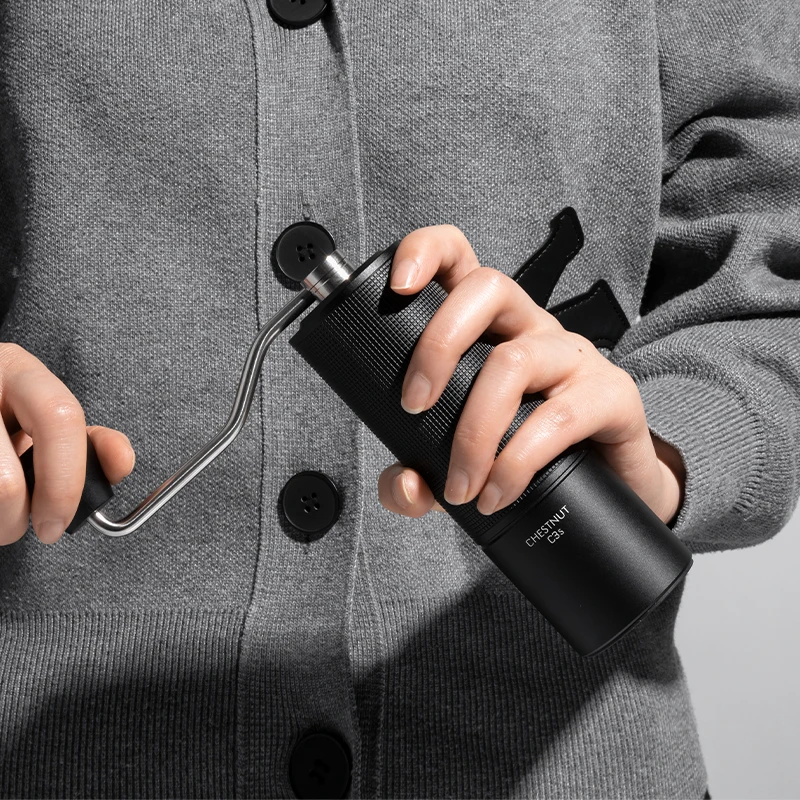
Understanding Your Manual Burr Grinder
Manual burr grinders stand apart from electric blade grinders by offering precision, control, and consistency that truly elevates your coffee experience. Unlike blade grinders that chop beans randomly, burr grinders crush beans between two surfaces (burrs) set at a specific distance apart, resulting in uniform grounds essential for balanced extraction and better flavor.
Regular maintenance isn’t just about cleanliness—it directly affects your coffee’s taste, extends your grinder’s lifespan, and ensures consistent grind size cup after cup. Understanding the relationship between precision grind settings and espresso quality is critical for any coffee enthusiast wanting perfect results.
Every manual burr grinder consists of several key components requiring regular attention:
- Hopper (bean chamber): Where whole beans are loaded
- Burr mechanism: Inner and outer burrs that crush the beans
- Grind adjustment system: Controls the distance between burrs
- Grinding chamber: Where ground coffee collects during grinding
- Grounds catch/container: Where ground coffee is deposited
- Handle/crank assembly: The manual power source
Ceramic and steel burrs each require slightly different maintenance approaches. Ceramic burrs are harder and more brittle but resist dulling better than steel burrs, which are tougher but require more protection from moisture to prevent rust. The type of burr affects how you’ll approach the cleaning process, as we’ll discuss in later sections.
Coffee oils and particles inevitably build up on burr surfaces over time, affecting both grind consistency and flavor. Regular coffee grinder maintenance prevents these issues while preserving the mechanical precision that makes your manual grinder such a valuable brewing tool.
Essential Maintenance Tools & Supplies
Proper maintenance requires just a few simple tools that you likely already have at home. Having these supplies ready before you begin makes the cleaning process more efficient:
- Small soft brushes: A dedicated coffee brush or clean paintbrush works well for removing coffee particles from burrs and hard-to-reach areas
- Microfiber cloths: Perfect for wiping down exterior surfaces without scratching
- Cotton swabs or pipe cleaners: For cleaning tight spaces and corners
- Mild, fragrance-free dish soap: Harsh chemicals can damage your grinder and affect coffee flavor
- Clean, dry towel or mat: Creates a clean workspace to prevent losing small parts
- Air blower/compressed air canister (optional): Helpful for removing stubborn particles from burrs
- Small screwdriver or Allen wrench: Necessary for disassembly of some grinder models
When selecting cleaning agents, avoid anything with strong fragrance or harsh chemicals that could damage your grinder’s materials or leave residues that affect coffee flavor. Mild dish soap is typically all you need for washable parts.
For more specialized cleaning needs, manual grinder cleaning brushes designed specifically for coffee equipment offer optimal bristle stiffness and shapes to access difficult areas without damaging burrs.
Items to avoid include abrasive scouring pads, bleach-based cleaners, and metal tools that could scratch or chip burrs. These can permanently damage your grinder’s precision components and affect performance.
Daily Quick Cleaning Routine
A 30-second daily cleaning routine between uses makes a significant difference in your coffee’s flavor quality and prevents problematic oil buildup. This quick process prevents flavor contamination when switching between different coffee beans and reduces the need for deeper cleaning later.
Follow these simple steps after each use:
- Empty all remaining grounds from the catch container by tapping it gently over a trash bin
- With the grinder upright, use a small brush to sweep away visible grounds from accessible parts of the burrs without disassembly
- Wipe down exterior surfaces with a dry microfiber cloth to remove any coffee dust or fingerprints
- Give the grinder a gentle shake or tap to dislodge any trapped particles
- Store your grinder in a clean, dry place away from direct sunlight
This quick routine prevents old coffee oils from going rancid and affecting your next brew. Coffee oils begin oxidizing immediately after grinding, and these oils can become bitter and unpleasant within just a day or two. By removing loose grounds and surface oils daily, you’ll preserve your grinder’s performance while ensuring each morning’s coffee tastes fresh and clean.
Make this routine habitual by performing it immediately after grinding your coffee—before you even start brewing. This way, your grinder is always ready for its next use.
Weekly Maintenance Process
A more thorough weekly cleaning (taking just 5-10 minutes) prevents performance issues and ensures consistent grind quality. How frequently you use your grinder will determine if you need to adjust this schedule—heavy users might benefit from twice-weekly cleaning, while occasional users might extend to bi-weekly.
Follow these steps for effective weekly maintenance:
Partial disassembly
– Remove the grounds container and hopper lid
– If your model allows, remove the handle/crank mechanism
– Remove any other easily detachable parts according to manufacturer guidelinesClean the hopper/bean chamber
– Use a soft brush to remove any bean fragments or coffee dust
– Wipe down with a slightly damp microfiber cloth
– Ensure it’s completely dry before reassemblyBrush accessible burrs
– Hold the grinder upside down and use a small brush to clean around and between visible burr teeth
– Turn the burrs manually to access different areas
– Pay special attention to corners where coffee particles accumulateWash removable parts
– Clean non-mechanical parts like the grounds container with mild soapy water
– Never submerge the burr assembly unless manufacturer guidelines specifically allow it
– Rinse thoroughly to remove all soap residueDry all components
– Wipe down parts with a clean, dry cloth
– Allow all components to air dry completely before reassembly
– Never reassemble while parts are still dampReassemble carefully
– Ensure all components are properly aligned
– Don’t overtighten connections
Warning signs that your weekly cleaning is overdue include visible coffee residue, inconsistent grind size, or unusual resistance when turning the handle. Addressing these symptoms promptly through proper cleaning will prevent more serious performance issues.
Monthly Deep Clean Procedure
A monthly deep clean (or after grinding approximately 5 pounds of coffee) takes about 30 minutes but is essential for maintaining optimal performance and flavor quality. This comprehensive cleaning addresses buildup in hard-to-reach places that affect grinder performance.
Preparation
Create an organized workspace
– Place a clean towel on a flat surface to prevent losing small parts
– Ensure good lighting to see small components clearly
– Have all cleaning tools ready before beginningDocument disassembly
– Take photos at each stage of disassembly with your smartphone
– Note the orientation of components, especially burrs and washers
– Some grinders have specific alignment requirements
Complete Disassembly
Remove the handle/crank
– Most handles detach by unscrewing a nut or bolt
– Place small hardware in a container to avoid losing piecesAccess and remove burrs
– Follow manufacturer guidelines for your specific model
– Note the orientation of inner and outer burrs before removal
– Handle burrs carefully as edges can be sharpDisassemble adjustment mechanism
– Pay close attention to how the adjustment system is assembled
– Note the sequence of washers, springs, and other small componentsRemove all washers, springs, and other parts
– Keep parts organized in the order of removal
– Group related components together

Cleaning Process
Clean burrs thoroughly
– Use a dry brush to remove coffee particles from all surfaces
– For ceramic burrs, you can use a slightly damp cloth if needed
– For steel burrs, avoid water and use only dry cleaning methods
– Use compressed air or a blower to remove particles from tight spacesWash non-burr components
– Clean removable metal, plastic, or glass parts with mild soapy water
– Gently scrub with a soft brush if necessary
– Rinse thoroughly to remove all soap residueAddress stubborn residue
– For stubborn coffee oils, soak non-burr parts in warm water with mild detergent
– Never soak burrs or components with bearings unless specified by manufacturer
– Use a cotton swab to reach difficult areas
Comprehensive manual burr coffee grinder cleaning requires attention to detail, but results in noticeably improved performance and flavor clarity in your brewed coffee.
Reassembly and Testing
Ensure all parts are completely dry
– Allow components to air dry completely
– Use a clean cloth to dry any remaining moistureReassemble in reverse order
– Refer to your photos or manufacturer instructions
– Ensure burrs are properly aligned and seated
– Don’t force components togetherTest the grinder
– Adjust to a medium setting and grind a small amount of beans
– Check for smooth operation and consistent grounds
– Make any necessary adjustments
Cleaning Methods: Debate on Rice vs. Cleaning Pellets
When dealing with stubborn coffee oils and residue, some users turn to absorbent materials to draw out oils from inaccessible areas. Two common methods spark ongoing debate among coffee enthusiasts.
Professional Cleaning Products
Grinder cleaning pellets are specifically designed for cleaning coffee grinders:
* Made from food-safe materials that absorb oils and break down residue
* Used by running them through the grinder like coffee beans
* Pros: Designed specifically for grinders, effective at removing oils, safe for burrs
* Cons: More expensive than household alternatives, may require ordering online, some brands can leave their own residue
Rice Cleaning Method
The rice method has been used for years as a home remedy:
* Involves grinding uncooked rice to absorb oils and clean burrs
* Pros: Readily available, inexpensive, somewhat effective for light cleaning
* Cons: Risks damaging burrs (especially ceramic ones), produces starchy residue, voids many warranties
Many manufacturers explicitly warn against the rice method as the hardness of uncooked rice can damage precision burr edges or overwhelm the grinder mechanism. Additionally, rice starch can create a paste-like residue that’s difficult to remove completely.
Recommendation
For most quality manual grinders, we recommend:
* Stick with dry brushing for regular maintenance
* Use grinder-specific cleaning pellets only when absolutely necessary
* Follow your specific manufacturer’s recommendations
* Never use rice in expensive or ceramic burr grinders
When in doubt, thorough manual cleaning with brushes and cloths remains the safest approach for preserving your grinder’s performance.
Troubleshooting Common Grinder Issues
Even with regular maintenance, you might encounter occasional performance issues. Here’s how to diagnose and solve common problems through proper maintenance techniques.
Inconsistent Grind Size
Potential Causes:
* Burr misalignment after reassembly
* Coffee particle buildup between burr teeth
* Worn or damaged burrs
* Loose components in the grinding mechanism
Solution:
1. Disassemble and clean burrs thoroughly
2. Check for damage or wear on burr edges
3. Ensure proper alignment during reassembly
4. Verify all components are properly tightened
Understanding how proper grind consistency affects espresso extraction can help you identify when your grinder needs attention.
Difficulty Turning the Handle
Potential Causes:
* Beans too dark/oily causing clogging
* Foreign object trapped between burrs
* Incorrectly assembled components
* Over-tightened adjustment mechanism
Solution:
1. Empty the grinder completely
2. Check for foreign objects or jammed beans
3. Clean burrs thoroughly and lubricate bearings if manufacturer recommends
4. Reassemble with proper component alignment
5. Adjust grind setting to coarser position before adding beans
Static and Grounds Retention
Potential Causes:
* Dry environment
* Particular bean characteristics
* Clean, oil-free burrs (ironically)
Solution:
1. Apply the RDT (Ross Droplet Technique) – add a single drop of water to beans before grinding
2. Maintain proper humidity in storage area
3. Tap grinder firmly after use to dislodge retained grounds
4. Clean catch container regularly to reduce static buildup
Unusual Noises
Potential Causes:
* Foreign object in grinding chamber
* Loose components
* Burr damage or misalignment
Solution:
1. Stop grinding immediately if unusual sounds occur
2. Disassemble completely and inspect for damage
3. Remove any foreign objects
4. Check alignment of all components during reassembly
Burr Wobble or Misalignment
Potential Causes:
* Improper reassembly after cleaning
* Worn bearings or mounting hardware
* Physical damage from dropping
Solution:
1. Disassemble the grinder completely
2. Inspect for damaged components
3. Ensure all bearings are properly seated
4. Reassemble with careful attention to alignment
5. If problem persists, contact manufacturer about replacement parts
Burr Replacement: When and How
Even with excellent maintenance, burrs eventually wear down and require replacement. Knowing when it’s time to replace rather than clean can save you frustration and poor coffee.
Signs Replacement is Needed
- Visual indicators:
- Visibly dull cutting edges on burrs
- Chips, cracks, or deformation in burr surfaces
Significant color change or worn spots on burr surface
Performance indicators:
- Consistently inconsistent grind size despite thorough cleaning
- Excessive fines (coffee dust) in your ground coffee
- Significant increase in grinding time for the same amount of coffee
- Unable to achieve fine enough grind for espresso
Typical burr lifespan varies significantly by material and usage:
* Steel burrs: Approximately 500-1000 pounds of coffee
* Ceramic burrs: Often 1000+ pounds of coffee
Replacement Process
- Identify your exact grinder model and burr type
- Purchase compatible replaceable burrs for your manual coffee grinder
- Follow disassembly instructions for your specific grinder
- Install new burrs with exact same orientation as original burrs
- Reassemble carefully following manufacturer guidelines
Breaking In New Burrs
New burrs often require a “seasoning” period:
* Grind about 1/2 pound of inexpensive coffee at medium setting
* Discard this coffee (or use for cold brew where precision matters less)
* Adjust calibration as needed – new burrs may require different settings
* Expect slight inconsistency for first few uses until burrs develop proper surface wear
Maintenance for Different Grinder Materials
Different materials require specific care approaches to maintain both function and appearance.
Stainless Steel Components
- Clean with dry or slightly damp cloth
- Avoid abrasive cleaners that could scratch surfaces
- For fingerprints, use a small amount of mild soapy water, then dry immediately
- Check periodically for early signs of rust at connection points
Aluminum Body Care
- Use only dry cleaning methods when possible
- If washing is necessary, dry immediately and thoroughly
- Avoid alkaline cleaners which can damage aluminum
- Watch for oxidation (white powdery residue) which indicates corrosion
Wood Components
- Clean with dry cloth only
- Never submerge wooden parts
- Periodically apply food-safe mineral oil to prevent drying and cracking
- Store away from direct sunlight to prevent color changes
Plastic/Acrylic Parts
- Hand wash only with mild soap
- Check for coffee oil buildup which can discolor clear plastics
- Keep away from heat sources which can warp plastic
- Inspect regularly for cracks, especially near stress points
Glass Components
- Handle with care during cleaning
- Wash with mild soap and warm (not hot) water
- Inspect edges regularly for small chips or cracks
- Replace if damage is found to prevent breakage during use
Best Practices for Daily Use and Long-term Storage
How you use and store your grinder directly affects maintenance needs and longevity.
Optimal Usage Habits
- Store beans separately, not in the hopper, to prevent oils from building up
- Adjust grind settings when the grinder is empty or running to prevent burr damage
- Hold the grinder body (not the crank) when grinding to reduce stress on components
- Consider using slightly less oily medium roasts which create less residue
- Clean between different coffee varieties to prevent flavor contamination
Portable coffee grinders require extra attention since they often experience more varied conditions and more frequent transportation.
Long-term Storage Guidance
- Perform a complete deep clean before storing for extended periods
- Store in a cool, dry place with low humidity to prevent rust on metal parts
- Place in sealed container or bag with desiccant packet if humidity is a concern
- Cover with cloth to prevent dust accumulation
- Leave on middle grind setting to reduce spring tension during storage
Before First Use After Storage
- Check for unusual odors that might indicate mold or rancid oils
- Run a small amount of coffee through and discard to remove any dust
- Verify smooth operation before grinding your morning coffee
- Re-calibrate grind settings which may have shifted during storage


All-Metal Hand Grinder, Flat Burr Hand Grinder, Manual Espresso Grinder, Precision Manual Grinder
Price range: $716.96 through $717.43 Select options This product has multiple variants. The options may be chosen on the product page

Hand Burr Grinder, Hand Crank Coffee Grinder, Manual Espresso Grinder, Portable Coffee Grinder
Price range: $262.72 through $300.22 Select options This product has multiple variants. The options may be chosen on the product page
Manual Burr Mill, Manual Coffee Grinder Stainless Steel, Manual Coffee Mill Grinder, Mechanical Coffee Grinder
Price range: $127.26 through $130.32 Select options This product has multiple variants. The options may be chosen on the product page
All-Metal Hand Grinder, Compact Coffee Mill, Hand Burr Grinder, Travel Coffee Grinder
$212.33 Select options This product has multiple variants. The options may be chosen on the product page
Hand Burr Grinder, Manual Coffee Grinder Stainless Steel, Precision Manual Grinder
Price range: $183.64 through $187.52 Select options This product has multiple variants. The options may be chosen on the product page
Ceramic Burr Coffee Grinder, Hand Burr Grinder, Hand Crank Coffee Grinder, Manual Coffee Bean Grinder
Price range: $59.17 through $59.96 Select options This product has multiple variants. The options may be chosen on the product page
Common Maintenance Mistakes to Avoid
Even well-intentioned maintenance can cause damage if done incorrectly. Avoid these common errors:
Submerging Non-washable Components
- Never submerge burr assemblies with bearings unless specifically approved by manufacturer
- Water can cause rust in steel burrs and bearings
- Moisture trapped in mechanisms can cause performance issues
Excessive Water Exposure
- Use minimal moisture when cleaning steel burrs
- Dry metal components immediately and thoroughly
- Allow complete air drying before reassembly
Inappropriate Lubrication
- Most manual grinders do not require additional lubrication
- Never apply cooking oils or household lubricants
- If lubrication is needed, use only food-safe grinder-specific products
- Follow manufacturer guidelines explicitly
Forced Reassembly
- If components don’t fit easily, something is likely misaligned
- Never force parts together
- Double-check orientation and alignment before attempting to connect parts
- Reference photos taken during disassembly
Harsh Cleaning Methods
- Avoid dishwashers for any grinder parts
- Don’t use abrasive scrubbing pads on any surfaces
- Avoid alcohol, vinegar or acidic cleaners that can damage finishes
- Skip the rice cleaning method despite online popularity
Improper Burr Alignment
- Pay careful attention to alignment markers during reassembly
- Ensure burrs are fully seated before securing
- Test alignment by checking for wobble or contact points
- Verify even grinding before regular use
Maintenance Schedule and Tracking System
A consistent maintenance schedule preserves your grinder’s performance while making maintenance manageable. Here’s a practical approach based on typical usage:
| Timeframe | Maintenance Task | Time Required | Focus Areas |
|---|---|---|---|
| After each use | Quick clean | 30 seconds | Empty grounds, brush visible areas |
| Weekly | Basic cleaning | 5-10 minutes | Partial disassembly, accessible burrs |
| Monthly/5 lbs coffee | Deep clean | 30 minutes | Full disassembly, all components |
| Quarterly | Inspection | 30-45 minutes | Deep clean plus parts inspection |
| Annually | Performance check | 60 minutes | Deep clean plus calibration |
Customizing Your Schedule
Your ideal maintenance schedule depends on several factors:
* Usage frequency: Daily users need more frequent cleaning than occasional users
* Bean type: Dark, oily beans require more frequent cleaning than light roasts
* Environment: Humid conditions may require more attention to prevent mold or rust
* Water hardness: Areas with hard water may see more mineral buildup on washable parts
Creating a Maintenance Log
A simple maintenance log helps track when services were performed and any issues encountered:
* Note dates of regular cleaning and deep cleaning
* Record when parts are replaced
* Track any performance changes
* Note preferred settings for different coffee varieties
Many coffee enthusiasts find that incorporating maintenance into their coffee ritual enhances their overall enjoyment. Taking a few moments to care for your manual coffee burr grinder becomes part of the mindful process that makes manual brewing so satisfying.
Whether you prefer a hand burr grinder for its portability, a ceramic burr coffee grinder for its longevity, a traditional manual burr mill for its classic design, or a portable coffee grinder for travel, proper maintenance ensures your equipment delivers exceptional performance cup after cup.
At Savor Suite, we believe that a well-maintained grinder is the foundation of exceptional coffee. By following this comprehensive maintenance guide, you’ll ensure your manual burr grinder continues to perform at its best for years to come.